Wednesday, March 30, 2011

Babycakes Cupcake Maker

This cupcake maker reminds me of Easy-Bake Oven, but for adults!

From Easy-Bake Ovens to BabyCake Cupcake Makers 
(or Cake Pop, Donut, & Whoopie Pie Makers!)
Who else had an Easy-Bake Oven growing up?! Not only did I have one, I was pretty much obsessed with mine. My friends and I used to have Easy-Bake Oven bake-offs, where we would each bake something different in our individual ovens, then have our finished products taste-tasted and judged by someone who hadn't been baking. No matter the result, Easy-Bake Oven bake-offs were SO. MUCH. FUN.

Now that I'm in college (and not below the age of 10) I no longer use my Easy-Bake Oven :( Although, I did buy this awesome book, The Easy-Bake Oven Gourmet, a couple of years ago. It's a book full of recipes that you can bake in your Easy-Bake Oven, and when I saw it in Sur La Table I had to have it. I have yet to try any recipes, but I still have my oven, along with the Real-Meal Oven, Lemonade Maker, Blender and more (I wasn't kidding when I said I was obsessed), in my basement :)

I never thought I'd find myself baking in a portable oven again, until I got my BabyCakes Cupcake Maker for Christmas this year! It's honestly an Easy-Bake Oven, but for adults/people who are no longer young enough to use an Easy-Bake. I immediately fell in love with my BabyCakes maker as soon as I opened the box, and I suggest that anyone who misses their Easy-Bake go out and buy one asap. The little cupcakes it makes are adorable! And it comes with a recipe book that tells you how to make mini pies, tarts and more in it too! 

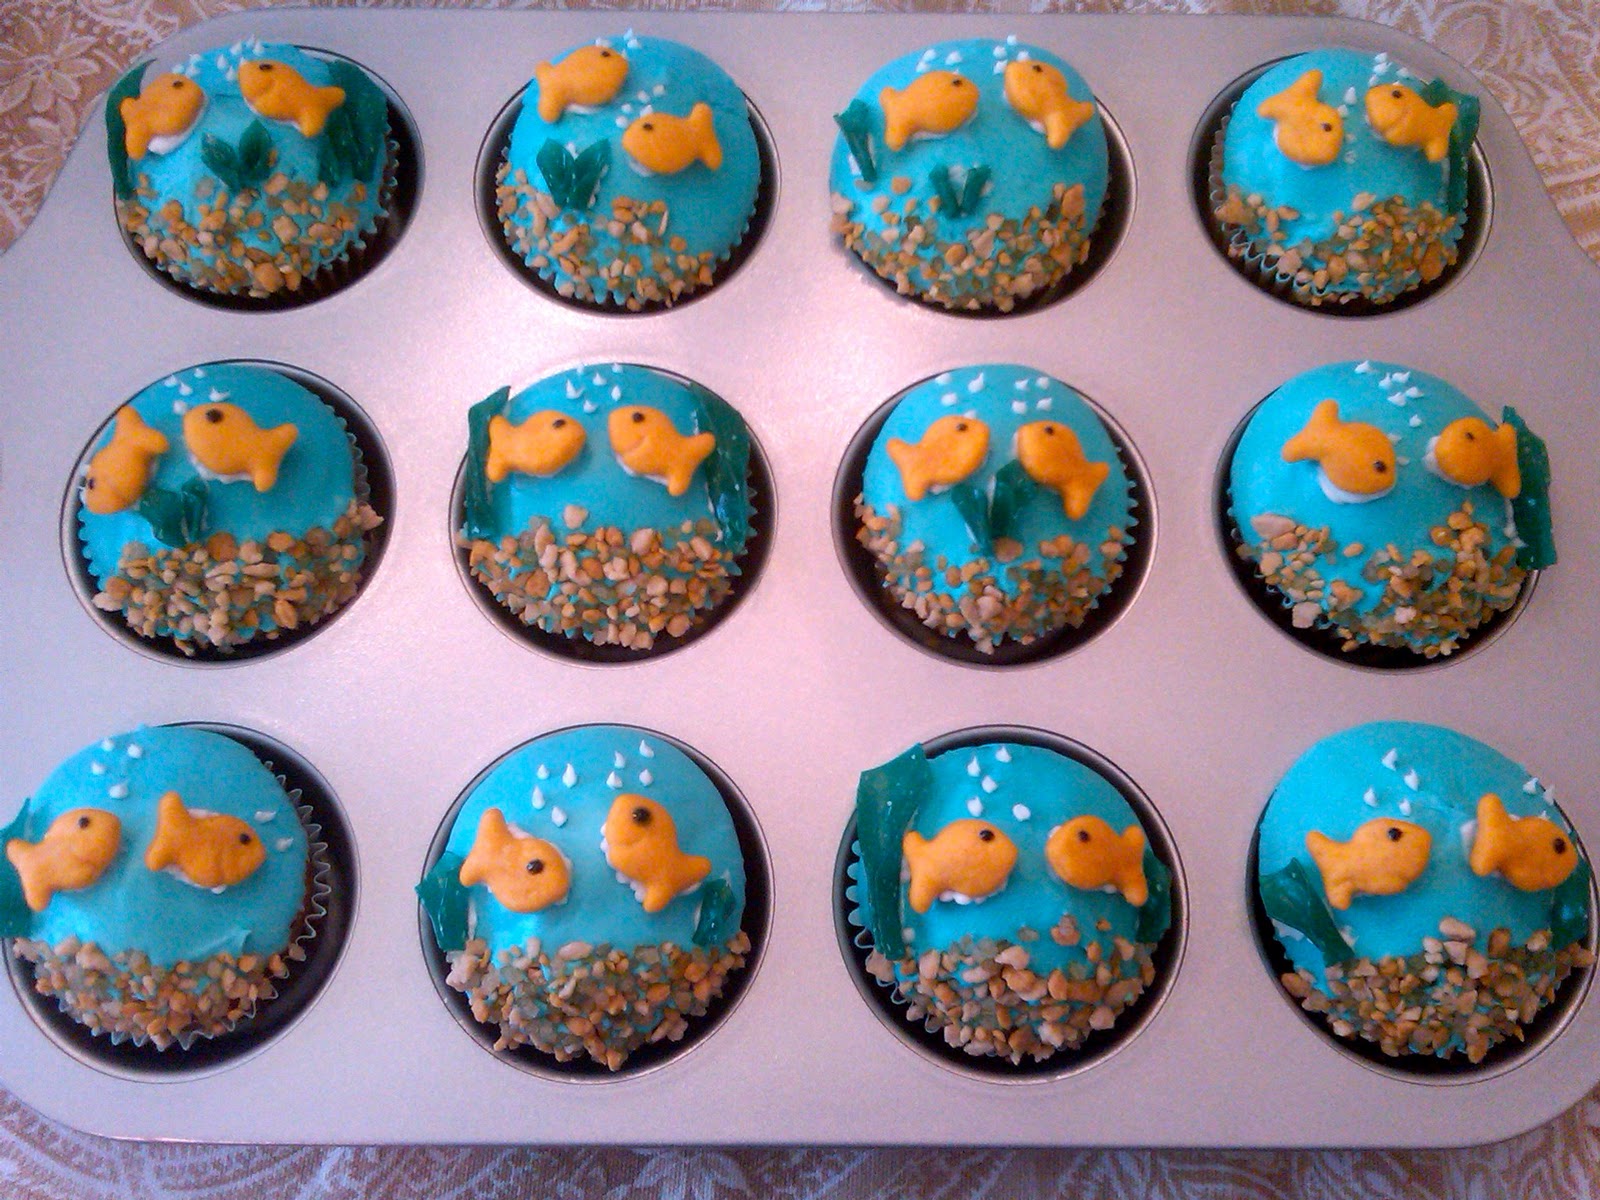
The first time I used it, I used mini muffin liners and boxed cake mix. The recipe book inside the box tells you how to prepare half a box of cake mix since with the cupcakes being so little, you can make a lot with only half a box. They were delicious! and they only take about 6-8 minutes for 8 of them to bake :) It's perfect for someone like me, who doesn't always have access to an oven since I'm away at college.

So, if you're like me, and loved (and still loves) your Easy-Bake Oven, get your hands on a Babycakes Cupcake Maker as soon as possible :) you won't regret it.

Babycakes also makes a Cake Pop, Donut, and Whoopie Pie Maker! Next time I see any of those while I'm shopping, I don't know if I'll be able to resist buying them! :) 

Tuesday, March 29, 2011

Layered Jell-O

These are so pretty, and fun to eat too :)
So I know that Jell-O isn't exactly something you bake, but since summer is so soon (or at least it feels like it's so soon) I figured I'd share this since it's a perfect summer dessert :) I made these layered Jell-O bars last summer for the first time, but my mom has been making them for years. They always come out so pretty! & like the fishbowl cupcakes, they're actually pretty easy to make! (they do take a long time to finish though... but it's so worth it!)

Here's the recipe that I used:

You need these ingredients for each layer: 
1 small package Jell-O
1 cup boiling water
1/3 cup Cool Whip
1 packet Knox gelatin
1/3 cup cold water

1. Dissolve the Jell-O in the boiling water.
2. Add the Cool Whip and stir until dissolved.
3. In a separate cup, combine the Knox gelatin with the cold water.
4. Stir the gelatin and cold water mixture into the Jell-O.
5. Pour into a 13x9 pan (or any pan close to that size).
6. Put the pan in the fridge for about 30 minutes to let it set. 

Repeat these directions for each layer of Jell-O you make!
& just continue to pour the Jell-O on top of the previous layer as you make more and more layers :)

You can do as many layers and use as many colors as you want :) I used the colors of the rainbow, but any combination of colors will come out great! No matter what, if you bring these bars with you to a party or just make them for fun, everyone is going to be impressed :) 
& if you like Jell-O, these bars are yummy too!


Monday, March 28, 2011

Fishbowl Cupcakes


How cute are these cupcakes!? 
They are one of the most recent things I've baked and decorated, and they were actually pretty easy to make! I got the idea from my Hello, Cupcake book which has some really adorable cupcake ideas (although I've only made a couple so far... I'll post about the other ones I've made later!) 

To make these, I needed to buy green fruit leather (which I found at Target) for the seaweed, Goldfish for the fish and Betty Crocker Praline Crunch Ice Cream Topping for the gravel on the bottom of the bowl (which I also found at Target). Before I made these, I google-imaged them to see what other people had done, and some people used nerds or colorful sprinkles for the gravel which was really cute too! 

To make the cupcakes I used plain white liners and boxed cake mix, and then I used two cans of white icing to ice the 24 cupcakes. After you add blue food coloring to about 3/4 of the icing, you melt it in the microwave via the instructions in the book and then you dip the cupcakes in the melted icing to give it this cool smooth and watery look. Some advice I have is that the book tells you to dip part of the cupcake in melted white icing and make a rim on top (to give it more of a fish-bowl effect), but I thought that didn't seem to be worth it, since they were already really cute! So if you want, feel free to skip that step. And when you're finished icing them and adding all of the decorations you have these adorable cupcakes!! 

I made them for my seven year old cousin's birthday party and everyone loved them!

Welcome to Sugar&Sprinkles!

Welcome to my first ever blog, Sugar&Sprinkles! I am creating this blog for anyone who shares my passion for baking, or simply has ever had a craving for a cupcake. In my blog, I'll be posting pictures of different things I have baked and different things I wish to make. I'll also be sharing my favorite bakeries, stores that sell baking equipment, baking-related accessories and just everything baking-related that I can think of! :) In the meantime, happy baking!